
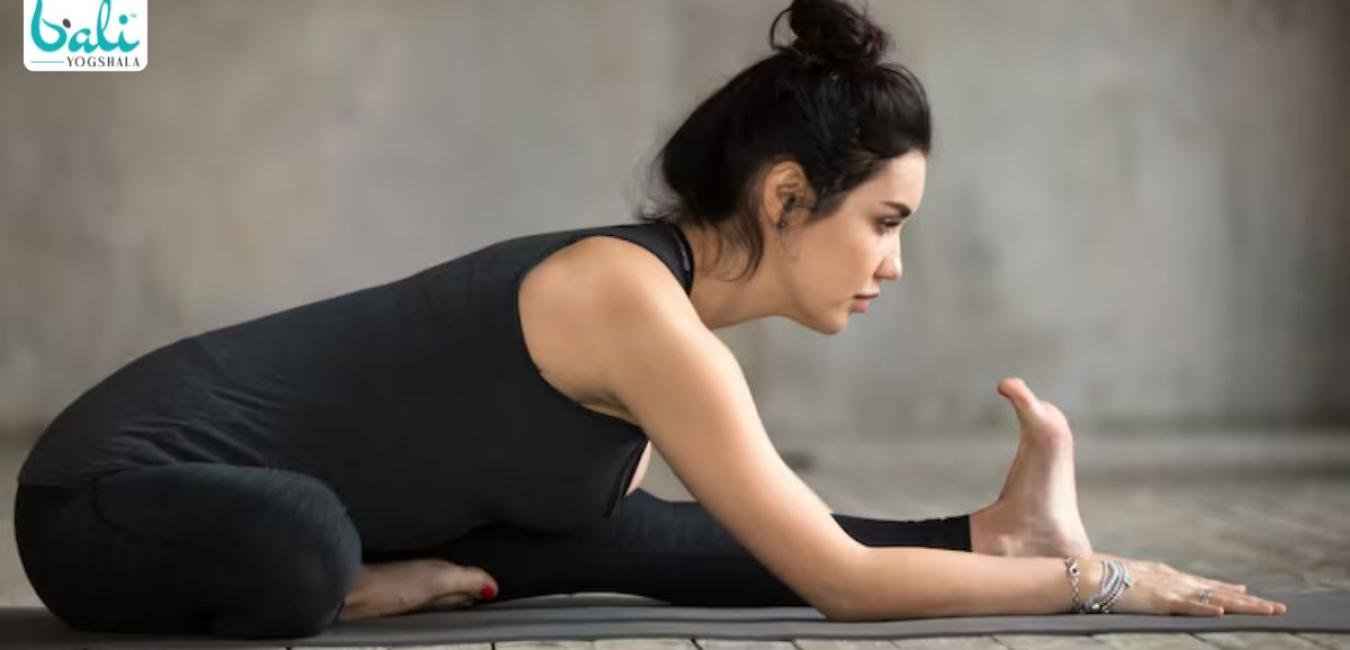
Yoga is a practice of patience, balance, and control. Some of the poses seem challenging at first glance. But they can be learned safely and steadily with practice. One such deep stretch is Hanumanasana. It is also referred to by many as the full front split. It stretches or releases the hips, thighs, hamstring muscles, and groin area. Thus, it is not advisable to rush this pose.
Warm muscles, slow breathing, and careful alignment are important. Additionally, users should use blocks, cushions, or folded blankets for support if they are new to using a wheelchair. This guide provides all the steps for the pose, its benefits, variations, and safety tips in simple words.
Table of Contents
- What is Hanumanasana?
- Why This Pose Needs Proper Preparation?
- Preparation for Hanumanasana
- How to Align the Body Correctly?
- Benefits of Hanumanasana
- 1. Easy Variations for Beginners
- 2. Monkey Posture and Body Awareness
- 3. Monkey Position Yoga for Flexibility
- 4. Difference Between Hanumanasana and Bhujapidasana
- 5. Precautions Before You Practise
- Hanumanasana Precautions
- Wind-up
What is Hanumanasana?
Hanumanasana is named in honor of Lord Hanuman. It is an expression of his mighty leap in the Ramayana story. A lot of yoga instructors also refer to it as 'monkey pose'. One leg is brought forward, the other is brought backward. You slowly begin to move towards a full split position. But don't worry, you don't need to touch the ground on day one! You should instead respect the flexibility you have at the moment.
_1778153667.jpg)
Yoga Journal says that Monkey Pose stretches the lower portion of the body, including the thighs, hamstrings, and groin. It also helps to develop core strength and body awareness.
Why This Pose Needs Proper Preparation?
This pose requires a relaxation of the hips, flexibility of the hamstrings, and a firm grip. Thus, it is important to build up your body for a full shape. Begin with simple lunge, half splits, low lunge, and hamstring stretches. In addition, slow breathing in the lead up to deeper practice. Warm your muscles, not force. Too much pressure will strain the hips or hamstrings.
Therefore, move slowly, and as soon as you experience sharp pain, stop. Besides, maintain both hips in front. This will help prevent excess strain on your spine in your lower back and maintain the stretch evenly. Relax your mind, and your body will open.
Preparation for Hanumanasana
To prepare for any Asana it is important to know which muscle or group of muscles need flexibility so they then become the target muscles for the sequence. For this posture, quadriceps, hamstrings, glutes and hip flexors ( major) need a major amount of flexibility. Below are some of the postures that can be performed to prepare the body for front splits
- Hatha Surya Namaskar: A couple of rounds of Hatha Surya Namaskar would be a warm-up for this posture. This will work on the flexibility and strength of the hip flexors.
- Low lunge variations: A couple of variations in lunge will be great to work on the flexibility as well as strength of the leg muscles. For example go to lunge straighten the front leg and lean forward to feel that deep stretch in the front leg hamstrings. To get an active relaxation of hamstrings lift the front leg off the floor and stay there for 8 to 10 counts after which drop the front leg down and try to slide the front leg forward. Similarly come back to the lunge position and give a bit of active relaxation to the back leg by lifting the knee off the floor and staying here for 8-10 counts. After this drop the knee down and try to slide the back leg as much as possible. Repeat these movements with the leg and back leg for a couple of rounds.
- High lunge variations: High lunge is also a good posture to work on active movements. One can get into a lunge position with both hands raised up and lean towards both sides to get the hip flexor and extensors contracting.
- Pigeon pose variations: This is a hip opener posture. Try to do variations by folding and turning towards the right and left with a forward fold. You can bend the leg and bend back into raj kapotasana to give that deep quad opening of the back leg.
Repeat all the postures, with both sides so you work on the flexibility of both legs.
How to Align the Body Correctly?
Hanumanasana pose becomes safer and more useful when it is performed well aligned. The first is to make sure your front knee and toes are pointing up. Then, make sure your back leg is straight behind you. Further, do not twist your pelvis to one side. Rather, pull back the front hip and forward the back hip. This movement helps to keep your hips level. Lift chest, relax shoulders. Additionally, lay blocks (or similar objects) under your hands when the floor is far. Folded blankets can be placed underneath your front thigh as well. This support takes tension off you, as well as helping to keep you relaxed throughout the stretch.
Related Post:- What is the Balinese OM Symbol?
Benefits of Hanumanasana
The primary hanumanasana benefits are a result of the deep stretching in the lower part of the legs. This position makes it easier to get flexibility in the hip, thigh, groin, and hamstrings. It also makes the front body longer and focuses. Additionally, the pose is a lesson in patience as your body is opened slowly. The majority of learners also experience improved body control when practicing regularly. The posture is described as an intermediate yoga posture according to the Art of Living, which is related to Lord Hanuman’s great leap. It also emphasizes preparation, careful practice, and support for those who are beginning, all of which promote safer learning. So, do the pose with respect and not ego. You get better in your body when you remain steady.
1. Easy Variations for Beginners
People who are new to yoga are not able to get into the full split pose. But the hanumanasana variations are safer and easier to practice. Begin in half-split pose - straighten only the front leg. Hips remain above the back knee. Then, place yoga blocks under both hands. Alternatively, a cushion under the hips to support is allowed.
It can also be strapped around the front foot. It helps to keep the spine long, and it’s useful. You can also practice in front of a wall to help balance if you are a beginner. These minor adjustments decrease the stress and increase confidence. Your body will become more open with time.
2. Monkey Posture and Body Awareness
The monkey posture is about listening to your body. To many, flexibility is about spreading the legs apart. But Yoga requires mindful movement. Keep your breath even. The face should be relaxed. In addition, the pain should not be shaking in your body. Stop and breathe if you sense any pulling. When sharp pain is felt, come out slowly.
This conscientious method enables you to prevent injuries. Furthermore, it enhances concentration and perseverance. With conscious practice, the posture becomes more than just a stretch, and you will discover that you are able to apply the stretch to your daily life. It turns into a lesson of control.
3. Monkey Position Yoga for Flexibility
Monkey position yoga is done by many to gain flexibility in the legs. But flexibility takes time to build up with practice. Simple poses can help achieve this objective. Experiment with low lunge, pigeon, seated forward fold, and lizard. In addition, incorporate soft stretches of the thighs at the end of the warm-up.
Maintain a relaxed stretch for each stretch. Never compare yourself to others. All people have different hip sizes and hamstrings. So, your progress could be different. As time passes, your body becomes larger. However, depth is not the top priority for safety. A supported pose will always be better than a forced pose.
4. Difference Between Hanumanasana and Bhujapidasana
Advanced yoga names are often confused by many students. But bhujapidasana and Hanumanasana are different. The shoulder pressing pose is Bhujapidasana. Requires arm strength, core control, hip opening, and balance. Hanumanasana emphasizes front leg flexibility, however. Extends legs and hips thoroughly.
Both poses require practice and patience. But they train the body in different ways. But if you take yoga lessons with a professional teacher, those differences are obvious. Bali Yogshala is a Yoga Alliance-registered advanced yoga training center providing teacher training and structured Yoga Learning.
5. Precautions Before You Practise
You should not do this pose if you have a recent injury to your hamstring, hip, groin, or knee. If you have lower back pain, do not do deep practice as well. Pregnant students should consult a trained yoga teacher before attempting. If you are a beginner, you should never perform without props. Warm up before the pose always. Also, use a non-slip mat. Keep your hands supported when entering and exiting. And above all, don’t ever force your body into a full split. If you feel pain, slowly come out of it. Safe yoga always honors the body. So, practice patiently and with care and steady breathing.
Also May You Like:- 100 Hour Yoga Teacher Training Course in Bali
Hanumanasana Precautions
- This is a posture and is intense on the hamstring so make sure your forward and backward bends are good else it could overstretch the muscles.
- Like every asana practice, a good warm-up before doing the posture will be very beneficial
- You can also do a backbend in Hanuman asana as variation make sure the lower back is safe and feels no compression.
- People, with hamstring injuries should not do this pose.
Wind-up
Hanumanasana may seem strong, but it must be done with caution and slowly. Warm-ups, props, and slow breathing to prepare your body. Also, depth should not be your primary concern, but alignment. The entire process may take weeks, months, or even longer. That’s perfectly fine. Yoga doesn't rush you. It will remind you to be alert, be safe, and be steady. With regular practice under guidance, this position will help you to gain flexibility, concentration, and control over your body. Most of all, have fun on the way, rather than on the way to the end.
Share Post
No Comments Yet