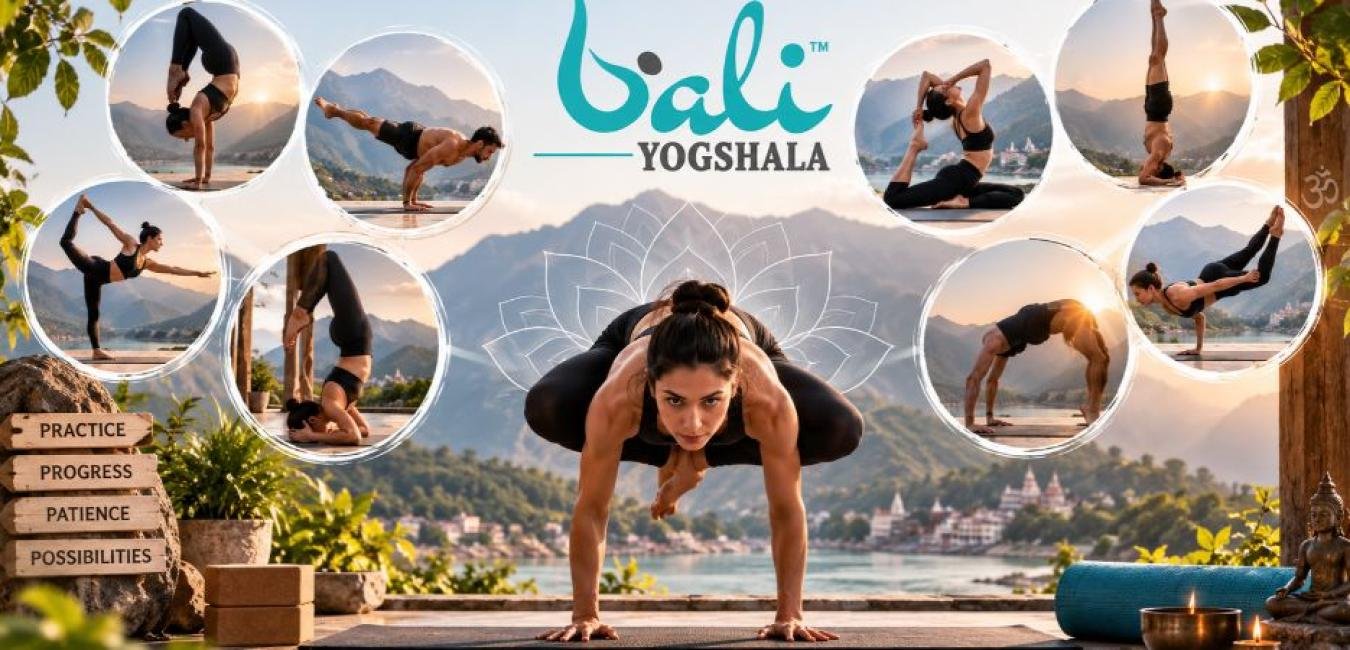
Yoga can look deceptively simple when someone who has been practicing for years moves into a pose with grace. That smoothness doesn’t come from luck. It comes from years of effort building strength, improving flexibility, tuning into the body, and developing patience.
Different yoga poses ask for things. Some require a high level of flexibility. Others require shoulders, good balance, open hips or a stable core. Many ask for a mix of these skills. That’s why what feels hard to one person might feel doable to another. There’s no answer for what makes a pose difficult.
The aim isn’t to force the body into a shape just because it looks impressive. The real goal is to move step by step. Use preparation and pay attention to alignment. Let the body grow at its pace. Progress happens when you respect your limits and keep showing up.
Table of Contents
- What Makes a Yoga Pose Difficult?
- Strength
- Flexibility
- Balance
- Coordination
- Mental Focus
- 12 Difficult Yoga Poses to Explore
- 1. Handstand Adho Mukha Vrksasana
- 2. Scorpion Pose. Vrschikasana
- 3. Eight-Angle Pose. Astavakrasana
- 4. King Pigeon Pose. Kapotasana
- 5. Firefly Pose Tittibhasana
- 6. Peacock Pose Mayurasana
- 7. Crow or Crane Pose. Bakasana
- 8. Wheel Pose. Urdhva Dhanurasana
- 9. Forearm Stand. Pincha Mayurasana
- 10. Lotus in Headstand Preparation
- 11. Flying Pigeon. Eka Pada Galavasana
- 12. Grasshopper Pose
- Difficult Yoga Poses for Beginners: Where Should You Start?
- How to Prepare for Difficult Asanas?
- Yoga Asanas Difficult for Different Reasons
- Difficult Yoga Poses With Names: Understanding Your Progression
- Common Mistakes When Practicing Tough Yoga Poses
- Can Tough Asanas in Yoga Be Practiced Safely?
- How Can Yoga Teacher Training Help With Advanced Poses?
- Hard Yoga Poses Are About Progress, Not Perfection
- Final Thoughts
What Makes a Yoga Pose Difficult?
A difficult pose can ask for physical and mental qualities at once.
Strength
Arm balances and inversions need wrists, shoulders, arms and core muscles. If you do not have strength it becomes hard to hold the position.
Flexibility
Some backbends and hip-opening postures need a lot of flexibility in places like the shoulders, spine, hips, hamstrings and quadriceps.
Balance
Inversions and arm balances rely on weight distribution. Tiny changes in hand pressure, hip position or body alignment can decide if you stay steady.
Coordination
Advanced yoga often asks parts of the body to work together. Breathing, movement, muscle engagement and alignment must come together not separately.
Mental Focus
Fer can become another challenge. Inversions can feel strange because the head is below the hips while some arm balances ask you to trust your hands and shift your weight forward.
12 Difficult Yoga Poses to Explore
The following list includes some of the demanding postures commonly associated with advanced yoga practice. They are presented as examples of challenging skills not as a ranking.
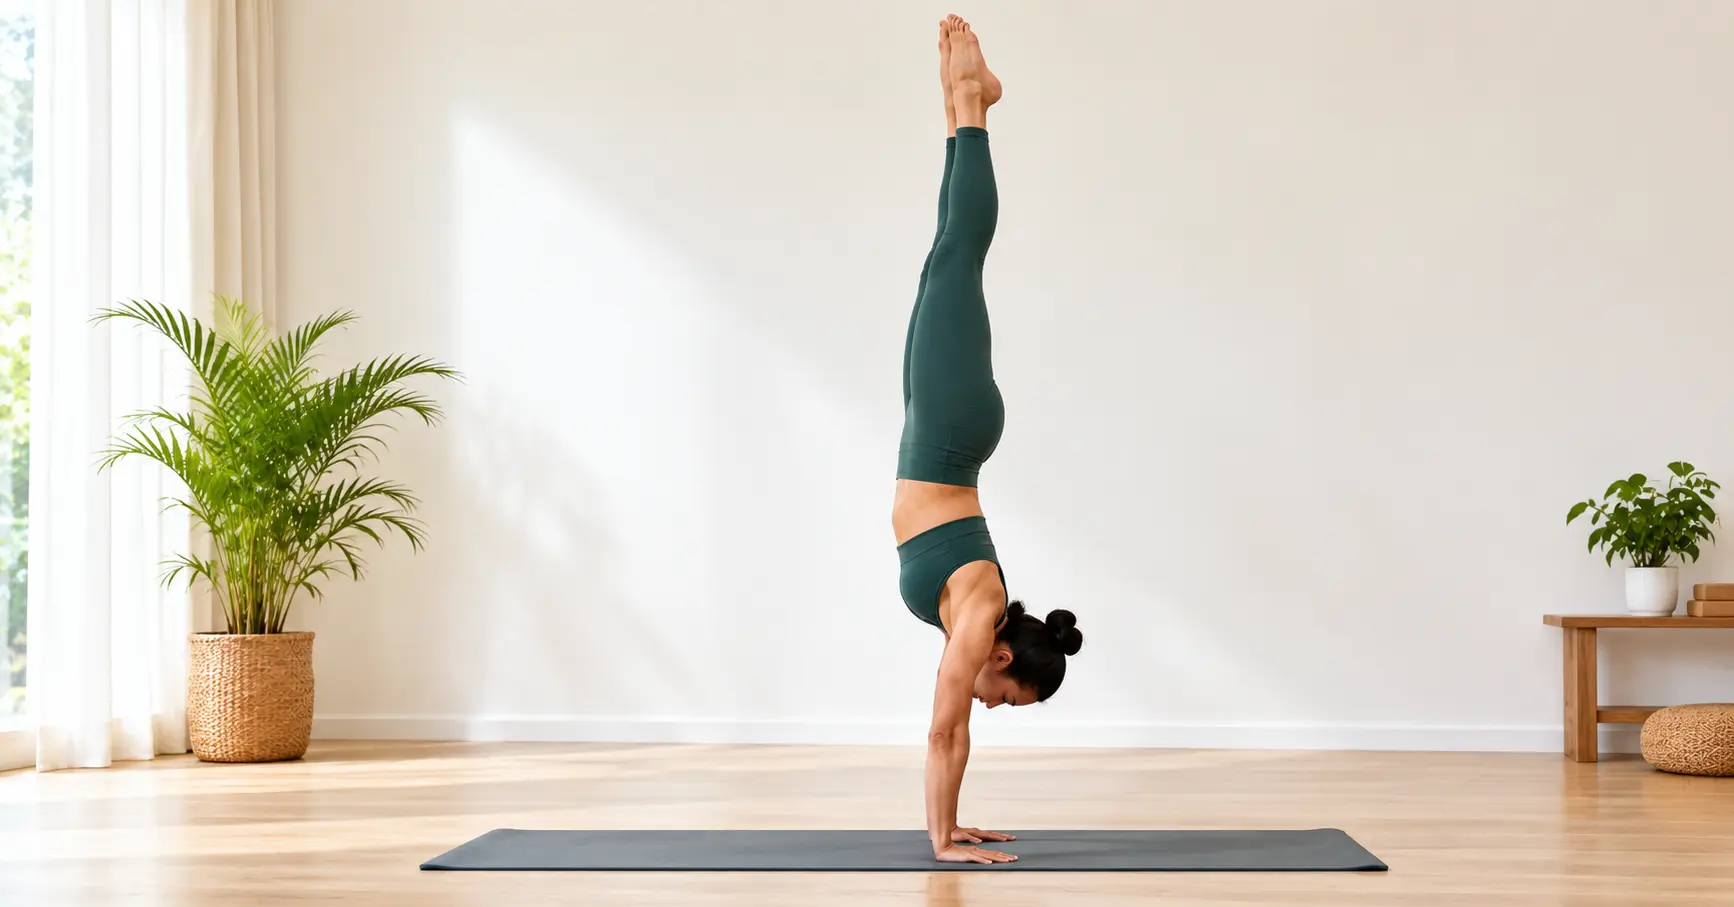
1. Handstand Adho Mukha Vrksasana
The handstand is one of the known advanced inversions. In this pose, your hands support your entire body while your legs extend toward the ceiling. The posture requires shoulder strength, wrist stability, core control, balance and confidence. Before attempting a freestanding version practitioners can work with wall-supported handstands, plank variations and controlled weight-shifting drills.
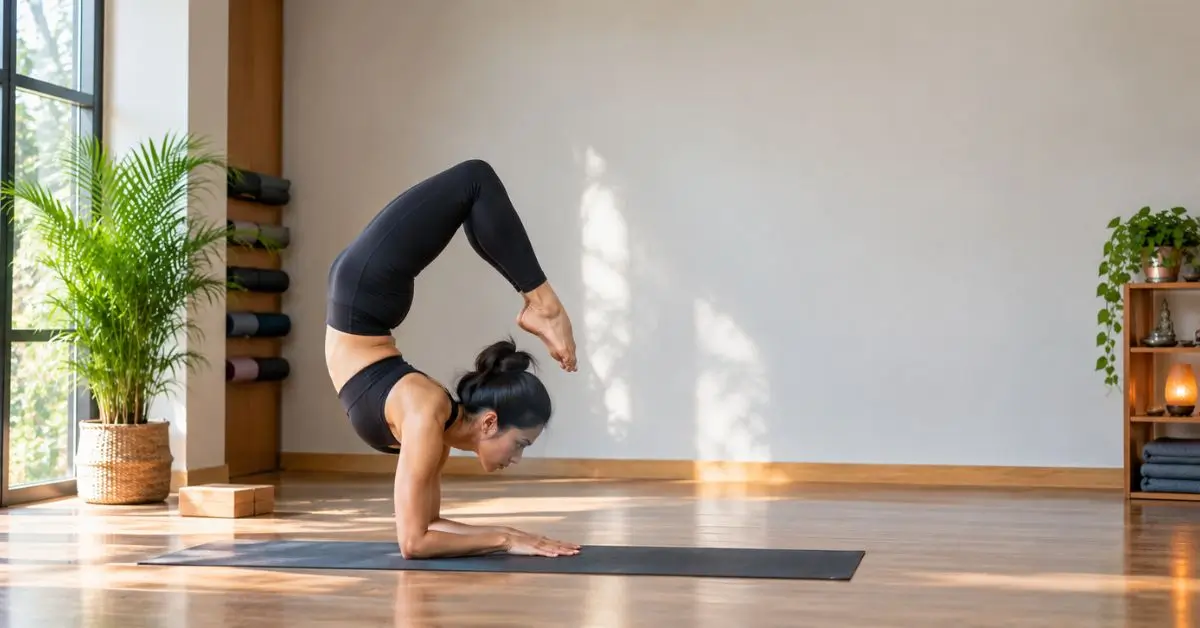
2. Scorpion Pose. Vrschikasana
The scorpion pose combines inversion and backbending, making it particularly demanding. It requires control through the shoulders and forearms together with mobility through the spine, shoulders and hips. Beginners should build toward it gradually through forearm-balance and backbend preparation. This is not a posture to rush simply because it looks impressive.
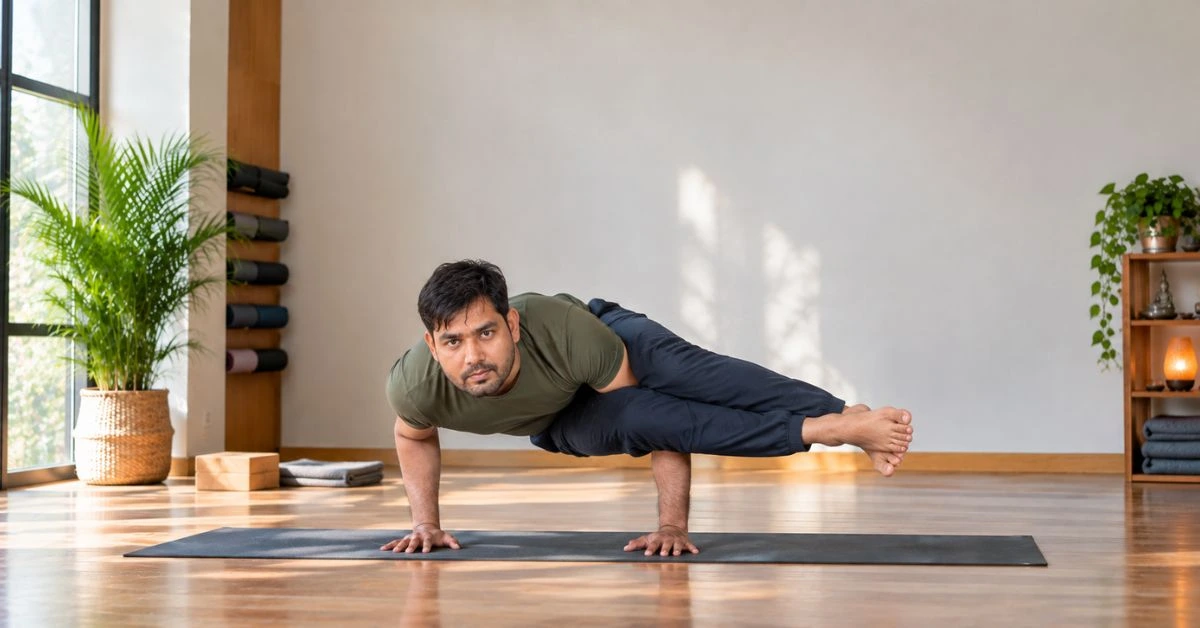
3. Eight-Angle Pose. Astavakrasana
The eight-angle pose is an arm balance involving the arms, core, hips and legs. The practitioner balances on the hands while the legs move to one side of the body. Strong shoulders and triceps are helpful. The ability to coordinate the hips and legs with the upper body is equally important.
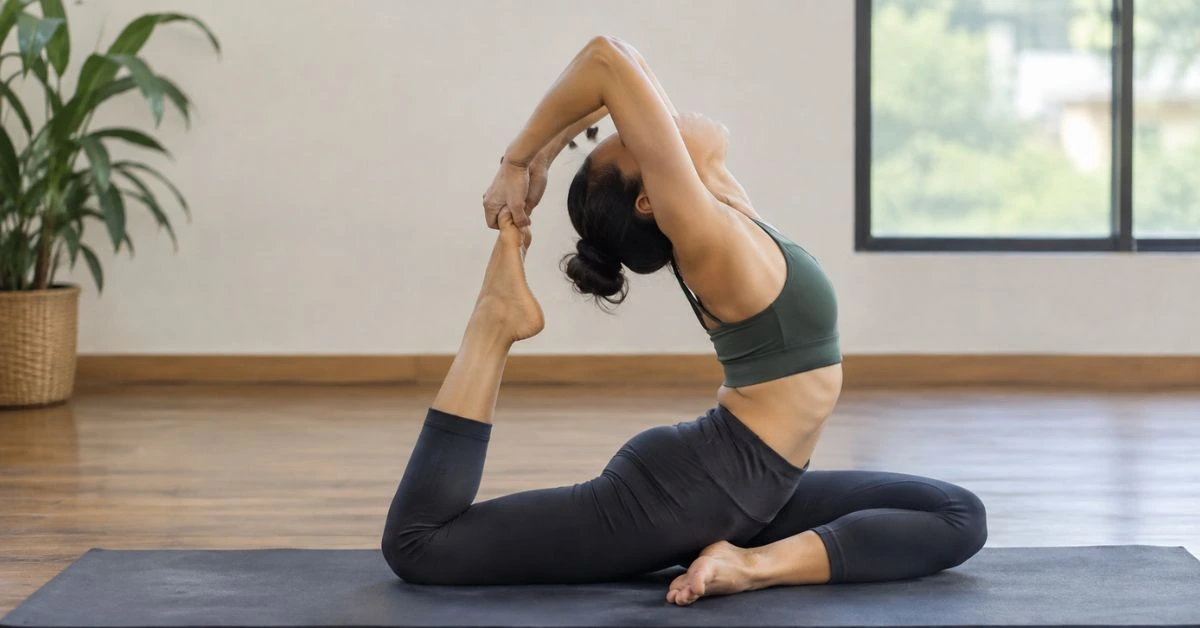
4. King Pigeon Pose. Kapotasana
King Pigeon Pose takes the pigeon shape into a much deeper backbend. It demands mobility through the hips, quadriceps, shoulders and spine along with control. Practicing pigeon variations and gradual backbend work can help prepare the body.
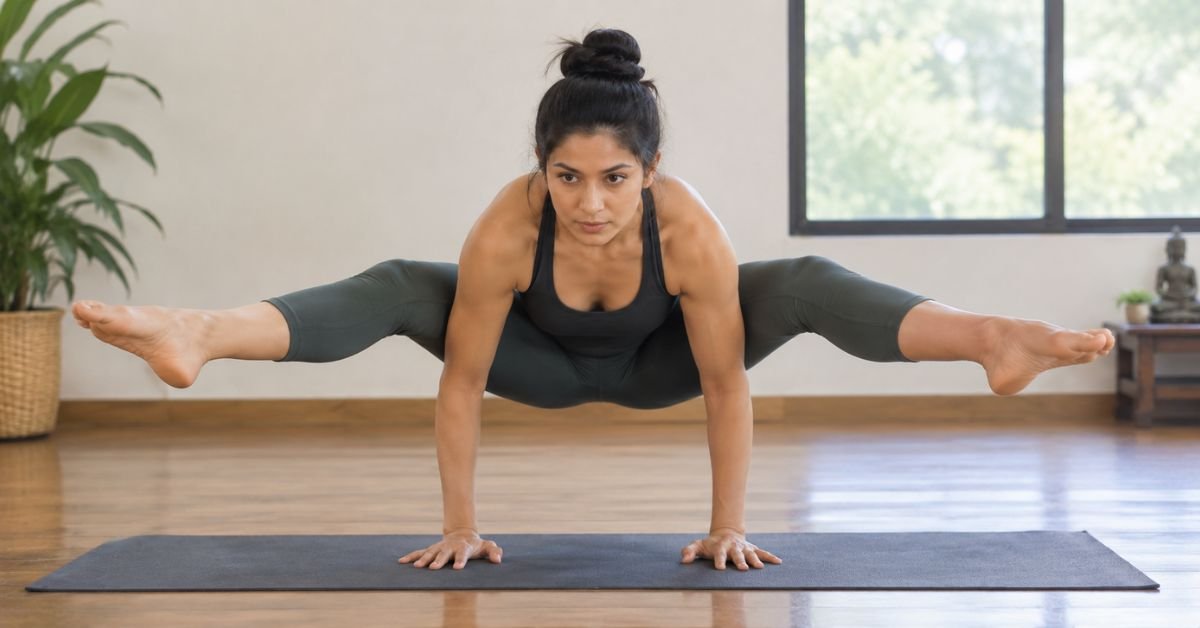
5. Firefly Pose Tittibhasana
The firefly pose is an arm balance that requires wrists, arms, shoulders, core and inner thighs. Flexibility in the hips and hamstrings can also make the entry easier. A useful approach is to practice supported variations and learn how to shift the bodys weight onto the hands.
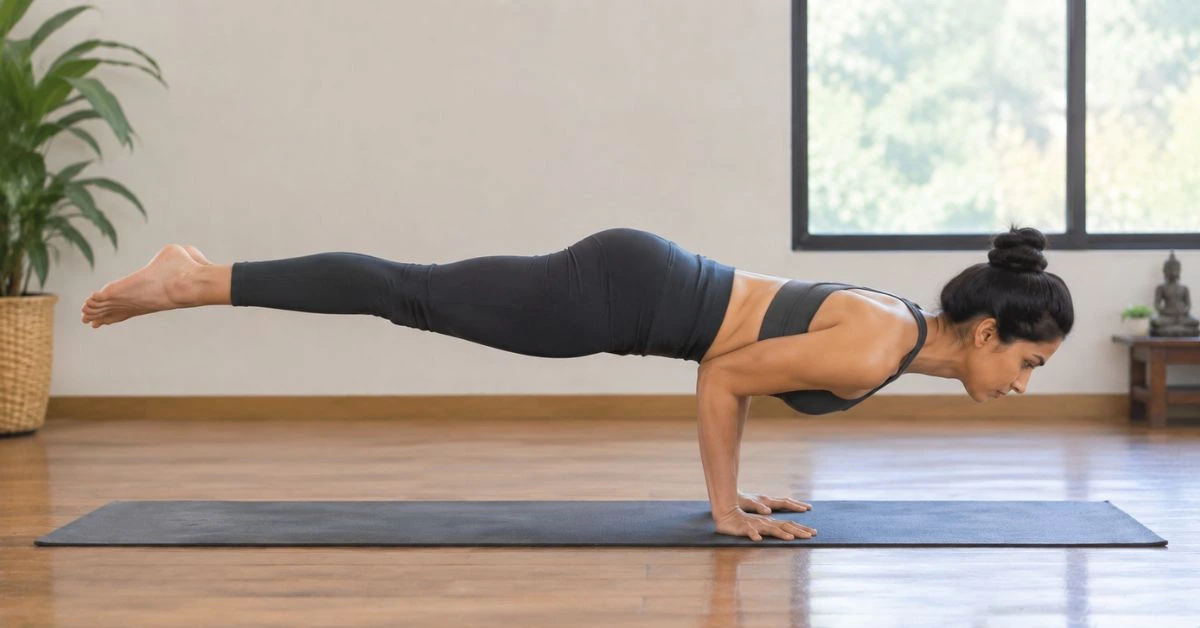
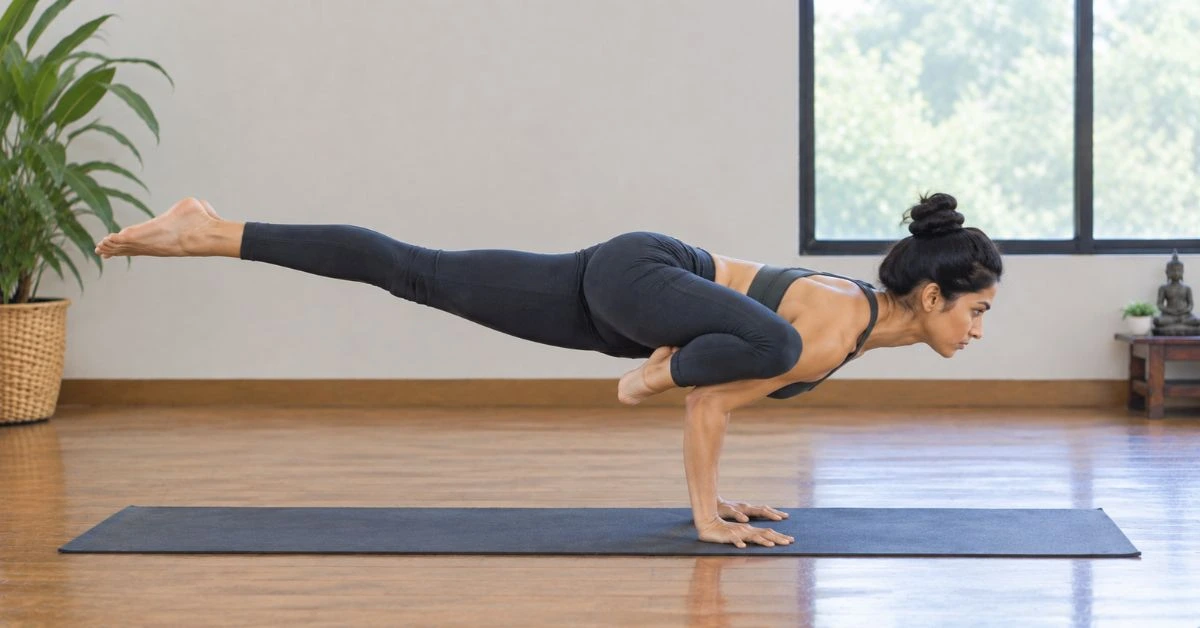
6. Peacock Pose Mayurasana
Peacock Pose requires upper-body strength and refined balance.The body is held horizontally while the hands and forearms create the foundation. Because the abdomen rests against the elbows the setup can feel unusual for practitioners.It is better approached after developing arm and core strength.
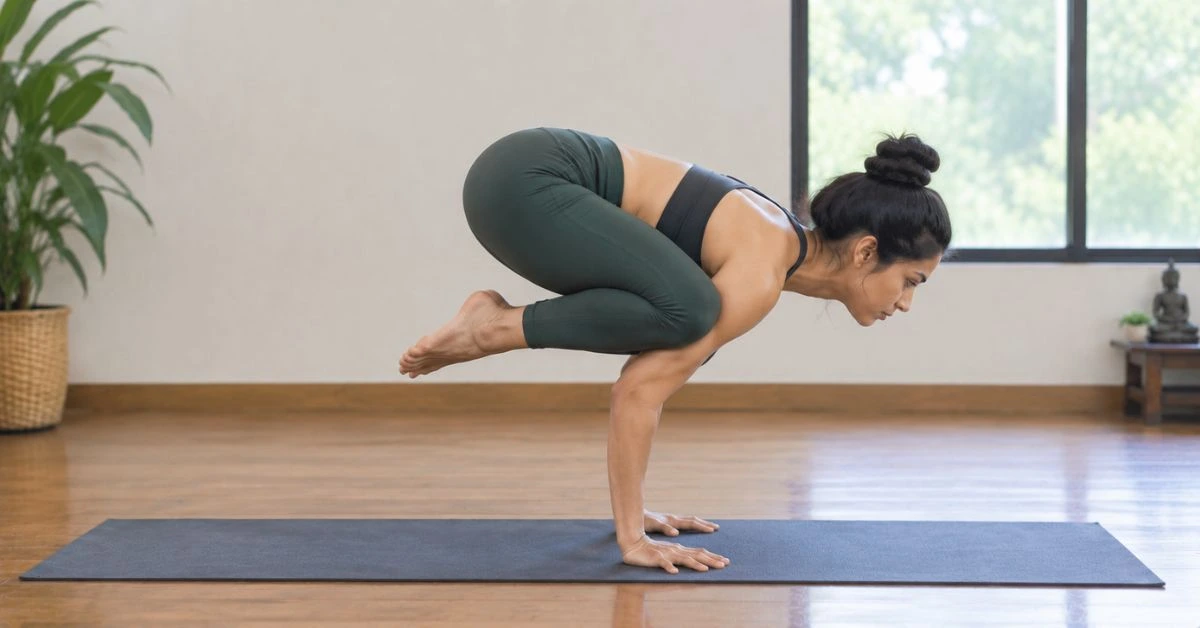
7. Crow or Crane Pose. Bakasana
Crow Pose is often introduced before advanced arm balances but that does not make it easy. You need to lean the body while balancing the knees against the upper arms. Finger pressure, wrist strength and core engagement become particularly important. For beginners practicing weight shifts and supported crow holds can make the movement more understandable.
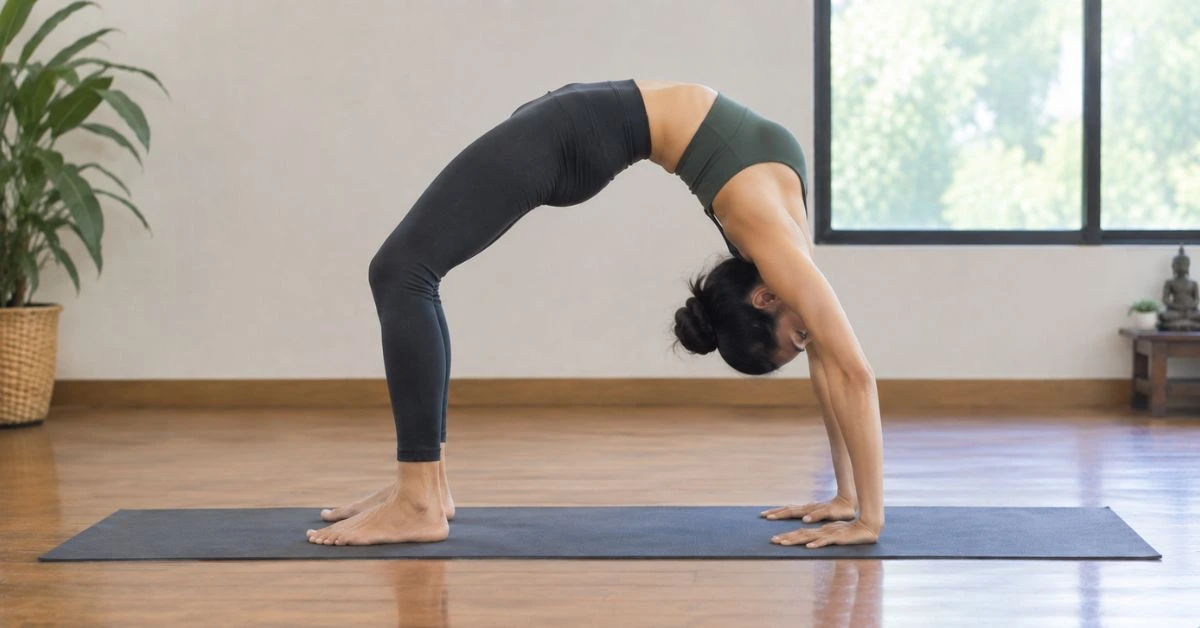
8. Wheel Pose. Urdhva Dhanurasana
Wheel Pose combines strength and mobility through the shoulders, arms, legs and spine. The posture requires preparation because the body moves into a deep extension. Shoulder-opening exercises, bridge variations and controlled backbends can help build the foundation.
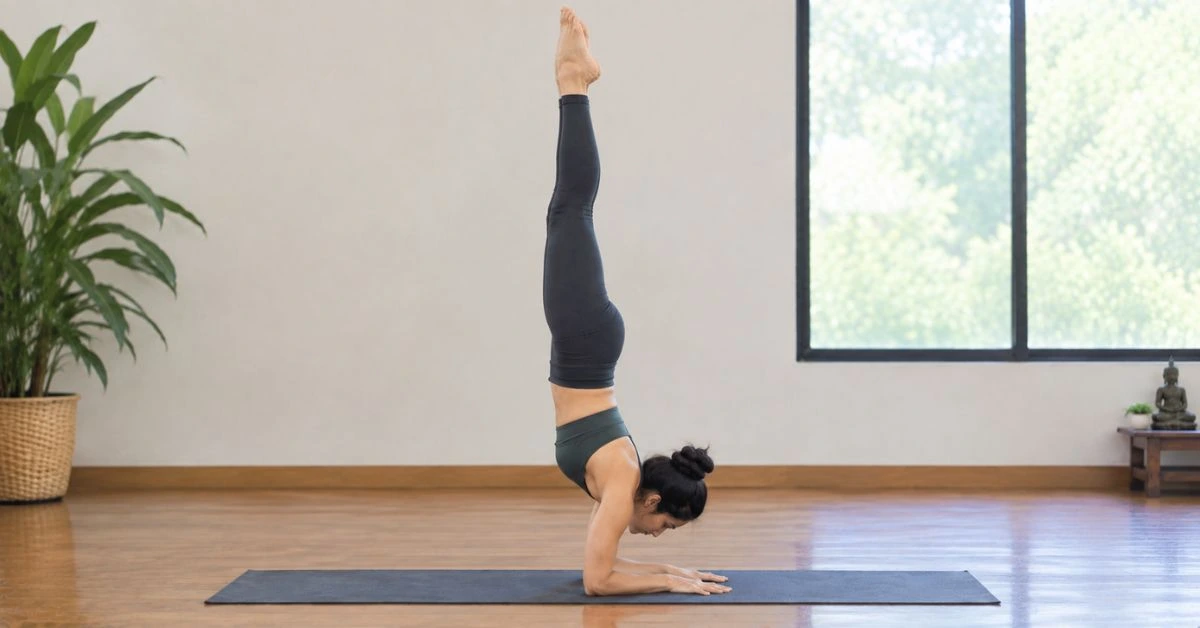
9. Forearm Stand. Pincha Mayurasana
Forearm Stand demands shoulders, stable forearms, core control and balance. Unlike a handstand the forearms create the base. The inversion still requires precise stacking and body awareness. Wall-supported practice can help beginners understand how the hips and legs move over the shoulders.
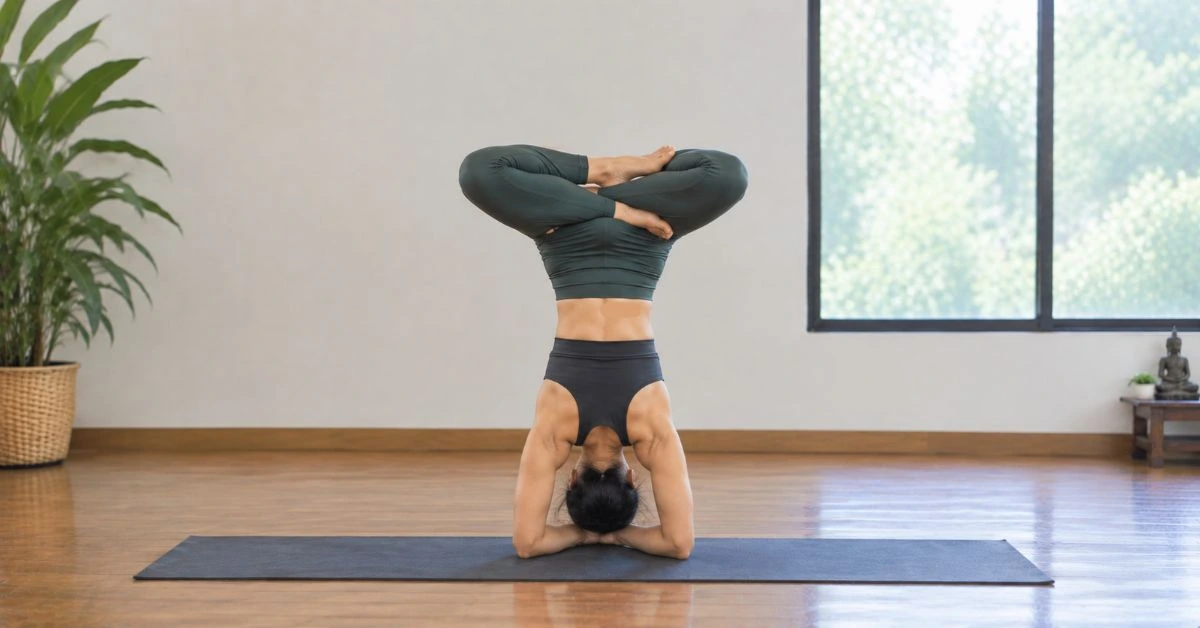
10. Lotus in Headstand Preparation
Headstand variations can become significantly more demanding when combined with leg positions such as lotus. The difficulty comes not from the inversion but also from maintaining stability while the lower body changes position. Practitioners should establish a controlled foundation first. Avoid forcing the hips or knees into lotus.
11. Flying Pigeon. Eka Pada Galavasana
Flying Pigeon combines a hip-opening position with an arm balance. One leg wraps around the arm while the other extends backward. This requires hip mobility, shoulder strength, coordination and confidence shifting weight. Working on pigeon variations and basic arm-balance drills can create a foundation.
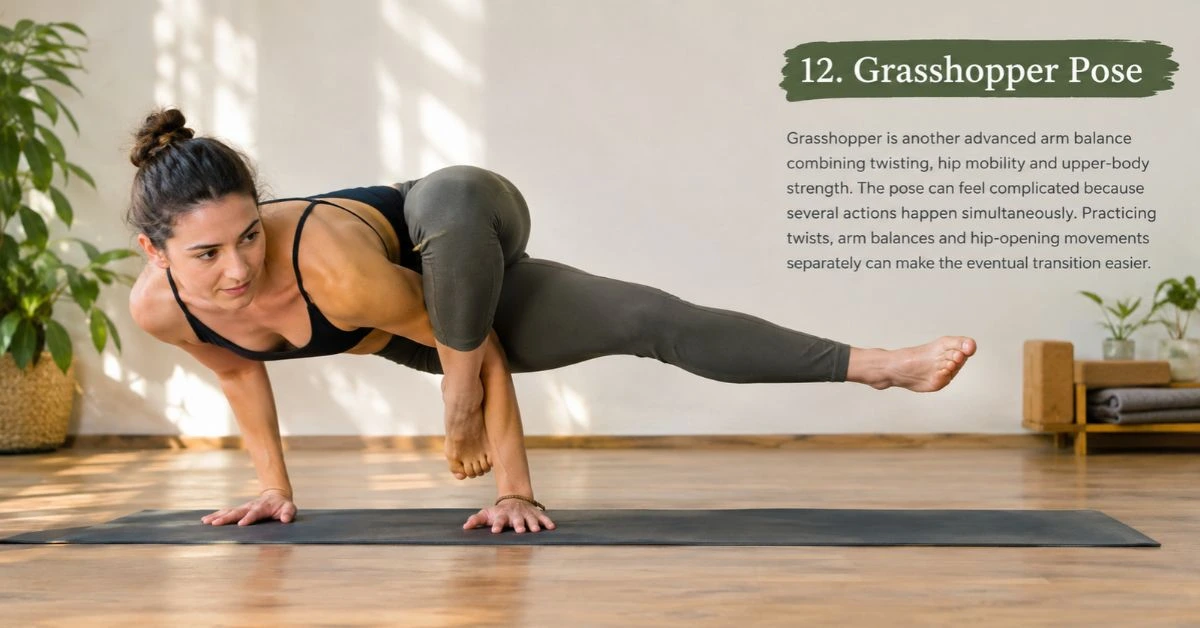
12. Grasshopper Pose
Grasshopper is another advanced arm balance combining twisting, hip mobility and upper-body strength. The pose can feel complicated because several actions happen simultaneously. Practicing twists, arm balances and hip-opening movements separately can make the eventual transition easier.
Difficult Yoga Poses for Beginners: Where Should You Start?
Beginners should not feel they need to try the advanced versions right away. A better way is to focus on the skill that each pose is really teaching.
For instance:
- If you are keen to learn a handstand, start by building strength in your shoulders and core.
- If a crow pose catches your eye, work on wrist strength and shifting your weight forward.
- If deep backbends are on your list, slowly build mobility in your shoulders and hips.
- If arm balances interest, you practice plank and Chaturanga and strengthen your core.
Many tough yoga poses that seem impossible at first become much easier when you break them down into steps. Your main goal should be to understand the base, not to reach the pose right away.
How to Prepare for Difficult Asanas?
Preparation is one of the differences between casual attempts and structured yoga practice.
- Warm Up the Wrists and Shoulders: Wrist circles, tabletop movements, shoulder rotations and weight-bearing drills can prepare the body for arm balances and inversions.
- Activate the Core: Plank, side plank, boat variations and controlled leg movements can help develop the trunk stability needed for poses.
- Improve Hip Mobility: Lunges, pigeon variations and gentle hip-opening exercises can help prepare for demanding arm balances and deep hip positions.
- Build Backbend Mobility: For advanced backbends work progressively through bridge variations shoulder-opening exercises and other controlled extensions.
- Practice Balance: Balance is a skill of its own. Wall-supported inversions can help practitioners understand alignment before attempting freestanding versions.
Yoga Asanas Difficult for Different Reasons
Not all yoga asanas that are difficult for beginners are difficult for the same reason. Someone may have excellent upper-body strength but limited hip mobility. Another practitioner may have good flexibility but struggle with balance. That is why copying the practice of another person does not usually work.
Determine your weakness:
- Strength: Conditioning and basic positions.
- Mobility: Controlled stretching and specific joints’ preparation.
- Balance: Working on supported forms and weight distribution.
- Coordination means breaking up the pose into parts.
- Confidence: Training with the help of an instructor or props.
In such a way, you will have a more systematic approach to advanced practice.
Difficult Yoga Poses With Names: Understanding Your Progression
When people search for difficult yoga poses with names, they are often looking for inspiration as well as guidance.
A useful progression might look like this:
- Foundation: Plank → Downward-Facing Dog → Chaturanga
- Arm Balance: Crow → Eight-Angle → Firefly
- Inversion: Dolphin → Forearm Stand → Handstand
- Backbend: Bridge → Wheel → Advanced backbend variations
- Hip Opening: Pigeon → Advanced Pigeon variations → King Pigeon
This type of progression gives your body time to adapt instead of treating advanced postures as isolated tricks.
Common Mistakes When Practicing Tough Yoga Poses
The common mistake is moving forward too quickly before your body is ready. Another common mistake is skipping the warm-up. Cold muscles and stiff joints don’t handle movements well.
Using momentum for control is another mistake. You might lift your feet off the floor. That doesn’t build real balance. Ignoring pain is a mistake. A challenge can feel tough. Sharp or lasting pain means something is wrong. Stop when it doesn’t feel right.
Comparing your practice to media is misleading. Those photos often show the end result, not the journey to get there. Neglecting the foundation is risky. Advanced poses rely on skills. Weak foundations show up the more advanced the pose becomes.
Can Tough Asanas in Yoga Be Practiced Safely?
Yes, advanced practices can be handled carefully when they are introduced step by step and taught with proper focus on alignment and personal ability. However advanced, it does not mean it is right for everyone.
People who have injuries or issues with joints are pregnant. Having medical conditions may mean you need changes or help from a professional before trying certain inversions, deep backbends or arm balances.
The provided competitor material also highlights warming up not pushing hard and doing difficult postures, with the right preparation and support. The goal is not to show that you can force yourself into a pose. The goal is to develop the skills that allow you to do it with control.
How Can Yoga Teacher Training Help With Advanced Poses?
Advanced asanas are easier to understand when you learn the principles behind them rather than only copying the final shape. A structured program for training yoga teachers can introduce areas such as asana technique, alignment, anatomy, teaching methodology, and traditional yoga practices.
Bali Yogshala's programs include 100-hour, 200-hour, and 300-hour teacher training options, with the curriculum covering areas such as asana, pranayama, meditation, philosophy, anatomy, alignment, and teaching methodology.
Hard Yoga Poses Are About Progress, Not Perfection
Advanced yoga should not become a competition. Some people will naturally have flexibility while others may be stronger or better at balancing. Your body shape, experience, how often you practice, and how consistent you are all play a role in how fast you improve.
- Of asking, "Can I do this pose yet?" Try asking:
- Can I safely get into the preparation?
- Can I keep my breathing steady and controlled?
- Do I understand where my weight needs to go?
- Can I exit the pose with control?
- Can I repeat the movement without pain?
They are important in facilitating progress. They focus on safety, awareness and smart growth rather than just pushing for a certain position.
Read Post:- Frog Pose Yoga
Final Thoughts
Learning yoga poses is a slow and steady journey. It takes time, focus, and kindness toward your body. You don’t rush into the moves. You start with the basics.
Poses, like handstands, scorpions, eight-angles, king pigeons, fireflies, and peacocks, demand strength, balance and control. These advanced postures test your limits. Just because a pose looks beautiful doesn’t mean it’s right for you yet.
The real work happens in the preparation. You build strength where you need it. You stretch where you’re tight. You learn how each movement works—how to engage the muscles and how to breathe through the challenge.
You don’t rush. You give your body space to grow. The progress that matters most isn’t always visible. Sometimes it comes when you finally feel the alignment in a pose you once thought was impossible, and when your breath stays calm even as your legs shake. The deepest growth often happens before the final posture is reached. That’s when you truly understand what yoga means.
Share Post
No Comments Yet